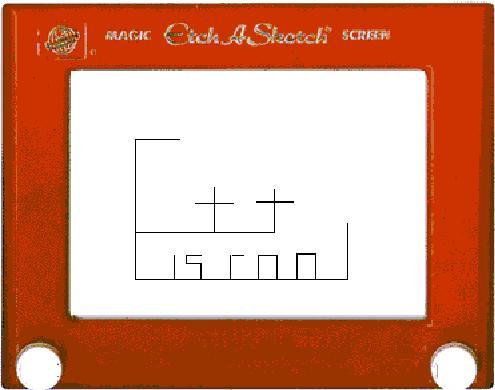
In this assignment you will create an electronic version of the Etch-A-Sketch. This program will give you practice with switch statements, if statements and graphics.
if-else and switch. The if-else is the most commonly used of the two. It is used to select conditionally one of two possible outcomes. The syntax for the if-else statement follows:
if (Condition)
  Statement1
else
  Statement2
Here's a fragment of code that displays "Positive":
int nNum = 3;
if (nNum > 0)
     cout<<"Positive"<<endl;
else if (nNum < 0)
     cout<<"Negative"<<endl;
else
     cout<<"Zero"<<endl;
Notice that there is no condition with an else. Just as with loops, if you want more than one line of code to be controlled by an if or an else, make a block of code surrounded by curly braces {} .
If you have only a single statement that you want to execute conditionally, you can leave off the else part, as shown in the following example:
if (nNum == 4)
  cout<<"Four"<<endl;
Similar to the if-else, the switch statement is specifically designed to work with a list of many choices. Here's a fragment of code that displays "Average":
char cGrade = 'C';
switch (cGrade)
{
  case 'A':
    cout<<"Excellent"<<endl;
    break;
  case 'B':
    cout<<"Good"<<endl;
    break;
  case 'C':
    cout<<"Average"<<endl;
    break;
  case 'D':
    cout<<"Needs Improvement"<<endl;
    break;
  default:
    cout<<"Needs Lots Of Improvement"<<endl;

}
Note that switch only works with variables that can be represented by integers. You can switch on ints, chars and colors, but not doubles, strings or conditions. Each case ends in a colon. Also note the break; at the end of each case.
Since this is a larger program than the previous assignments, you may want to complete it in steps.
putpixel function from winbgim.h to draw one dot at a time on the screen. The function takes three integer arguments, the first two give the coordinates where the point is drawn and the third the color that is used: putpixel(nX, nY, nColor);
Here is some pseudocode for the main function:
'q'
getch() to store the key pressed in the local character variable
cleardevice() function to erase the screen closegraph(); to close the graphics window
To make a red border that looks like a traditional etch-a-sketch you can use the bar function from winbgim.h. The bar function takes four arguments that are the coordinates for the four corners of a rectangle in the order left, top, right, bottom. To make a solid red bar acrss the top of the screen try:
	setfillstyle(1,RED);
   	bar(0,0,640,50);
You can use three more calls to the bar function to finish your border.
To make the white knobs at the two bottom corners of the screen the fillellipse function from winbgim.h works well. To make a knob in the lower left of the screen try:
	setfillstyle(1,WHITE);
     	fillellipse(25, 455, 15, 15);
	settextstyle(5, 0, 2);
	//takes three arguments, the first is font style, last is size
	settextjustify(1, 1);
	setcolor(WHITE);
	outtextxy(320, 20, "Etch-A-Sketch");
	//takes three arguments, the first two are coordinates and the third a string
It's a good idea to place all the code that clears the screen, draws the border and displays the instructions in the same function.
putpixel. If you are really good
you may be able to get the knobs to appear to turn as you draw!